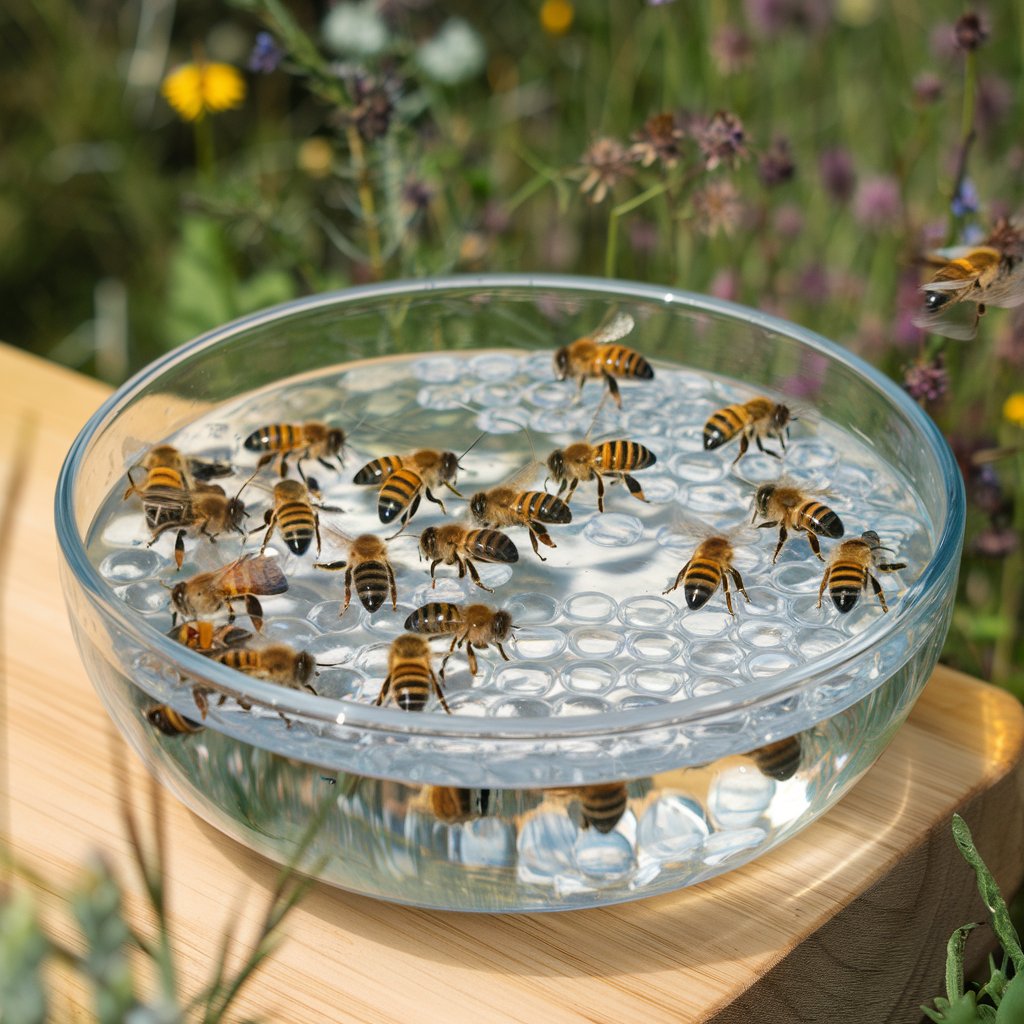
Bee Water: A Step-by-Step Guide to Creating a Bee-Friendly Water Bowl
Hey there, garden enthusiasts! Have you ever noticed those buzzing little friends flitting around your garden, tirelessly pollinating your flowers and veggies? Yep, I’m talking about bees! These tiny heroes play a crucial role in our ecosystem, and guess what?
They get thirsty too! So, why not give them a helping hand by setting up a bee-friendly water bowl in your garden? It’s super easy, and I’m here to guide you through it step by step. Let’s dive in!
Why Bees Need Water
Before we get into the nitty-gritty, let’s chat about why bees need water. Just like us, bees need water to survive. They use it for drinking, cooling down their hives, and even diluting honey. Providing a safe water source can make your garden a bee haven and help these little pollinators thrive.
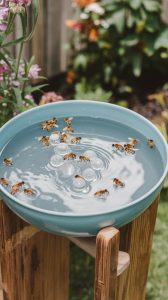
Step 1: Gather Your Materials
First things first, let’s gather everything you’ll need. Don’t worry, you probably have most of these items lying around:
- A shallow dish or bowl (think saucer or pie plate)
- Small stones or marbles
- Fresh, clean water
- Optional: A few drops of honey or sugar water for extra bee attraction
Step 2: Choose the Perfect Spot
Location, location, location! Find a sunny spot in your garden where bees are likely to hang out. Bees love warmth, so a sunny spot will make your water bowl more inviting. Plus, placing it near flowering plants will make it easier for bees to find.
Borax in the Garden: 13 Tricks to Outsmart Pests, Diseases, and Weeds
Step 3: Prepare the Bowl
Now, let’s get that bowl ready. Place your shallow dish in the chosen spot and fill it with small stones or marbles. These will serve as landing pads for the bees, allowing them to drink without the risk of drowning. Make sure the stones are stable and cover the bottom of the bowl.
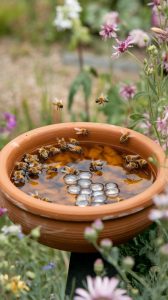
Step 4: Add Water
Time to add the main ingredient—water! Fill the bowl with fresh, clean water, ensuring the water level is just below the tops of the stones or marbles. This way, bees can easily access the water without getting their wings wet.
Step 5: Sweeten the Deal (Optional)
Want to give your bee water bowl an extra buzz? Add a few drops of honey or sugar water to the mix. This sweet treat can attract more bees to your garden and encourage them to return for more.
Step 6: Maintain Your Bee Water Bowl
Congratulations, you’ve set up a bee-friendly water bowl! But wait, there’s more. To keep your bee visitors happy, you’ll need to maintain the bowl regularly. Here are a few tips:
- Check the water level daily and refill as needed.
- Clean the bowl and stones weekly to prevent algae growth.
- Replace the water if it becomes dirty or stagnant.
Step 7: Enjoy the Buzz
Now that your bee water bowl is up and running, sit back and enjoy the buzz! Watch as bees come and go, sipping water and helping your garden flourish. It’s a small gesture, but it makes a big difference for these vital pollinators.
Final Thoughts
Creating a bee-friendly water bowl is a simple yet impactful way to support our buzzing buddies. Not only does it provide them with a much-needed resource, but it also enhances your garden’s ecosystem. So, grab your materials, follow these steps, and get ready to welcome a swarm of happy bees to your garden. Happy gardening, and may your garden be buzzing with life!
