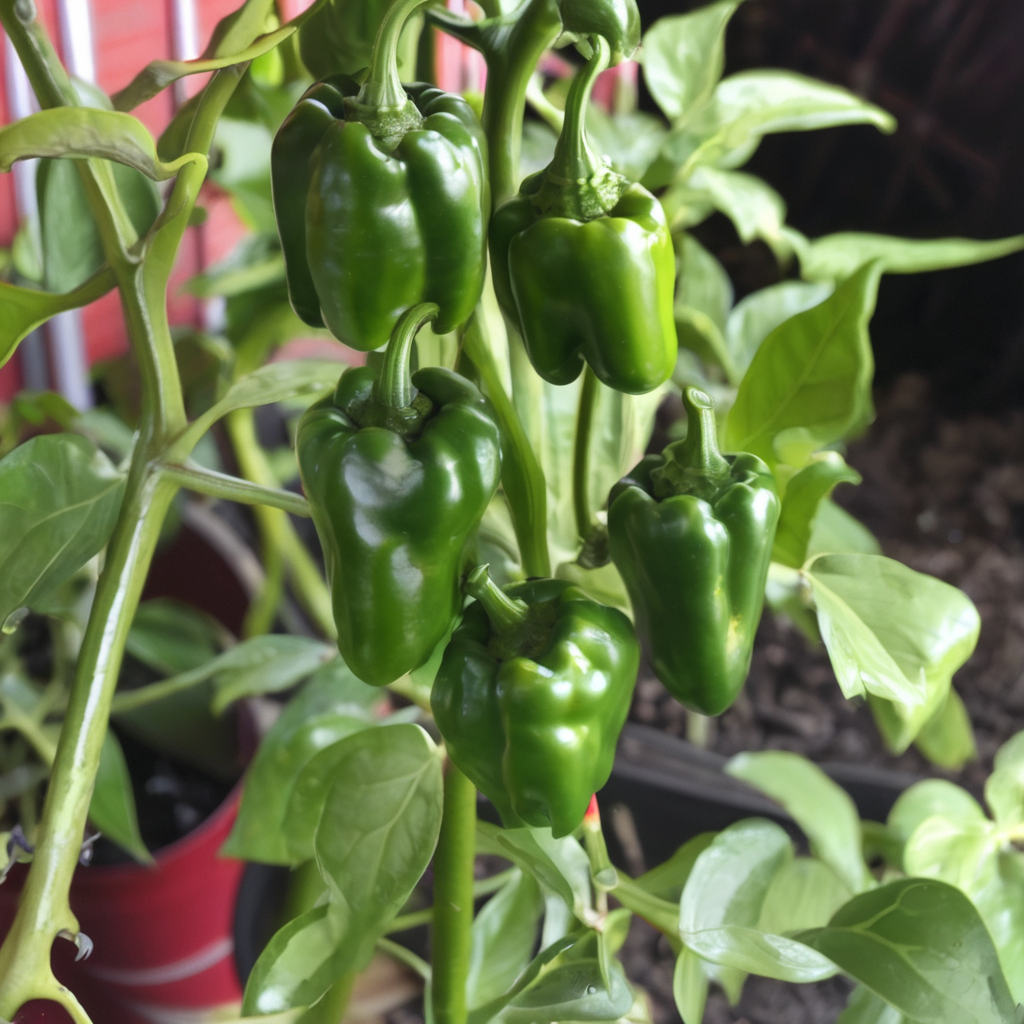
Nothing says summer like the bright colors and bold flavors of chili peppers! Whether you love the heat of habaneros or prefer the mild zing of bell peppers, growing these fruits at home is incredibly rewarding. Not only does it give you access to the freshest ingredients for cooking, but it’s also a fun gardening project that yields results relatively quickly.
As someone who has cultivated a wide variety of chili varieties over the past few years, I’ve picked up some helpful tips for vibrant growth that I’d love to share.
Cultivating Chili Peppers at Home: Tips for Vibrant Growth
One of the most important factors for chili pepper success is choosing the right varieties for your climate. While some peppers can tolerate a range of conditions, others prefer it hot and humid or slightly cooler. Take the time to research which types are best suited to your USDA growing zone.
A good place to start is with bell peppers, jalapeños, serranos, poblanos, cayennes, or Thai chilies—peppers that generally thrive across wide areas. Avoid ultra-hots like ghost or scorpion peppers if you’re new to growing them, as they can be more finicky. It’s also wise to select varieties with disease resistance when possible.
Once you’ve selected your varieties, it’s time to start seeds indoors 6–8 weeks before the last spring frost date. Chili seedlings are quite fragile at first and benefit from the controlled environment of a seed-starting setup. You can use small seed trays, biodegradable pots, or egg cartons filled with a lightweight seed-starting mix. Keep the soil lightly moist and provide a grow light for 16–24 hours per day to encourage sturdy growth. Within 2-4 weeks, the seedlings should be ready for their first true set of leaves and pricking out, or transplanting, into individual containers.
For transplanting containers, 4-inch pots work well and allow room for several weeks of development before going outside. I like to use plastic or biodegradable pots that can be placed directly into the ground when planting time arrives. Be sure to harden off seedlings for a week before planting them in the garden by gradually increasing their exposure to sunlight, wind, and cooler nighttime temperatures. This acclimates them to outdoor conditions without shock.
Most chili varieties thrive in full-sun locations with well-draining, nutrient-rich soil that stays moist but not soggy. Amend heavy clay or sandy soils with compost prior to transplanting. Space plants 1-2 feet apart, depending on the size the variety grows to at maturity. Dig holes twice as wide as the root ball and place the seedling at the same level as it was growing indoors. Gently pack soil around the roots and water well to settle it in. Applying a 2-4-inch layer of mulch around plants helps retain moisture and suppress weeds.
During the growing season, chili plants are fairly low-maintenance aside from regular watering. Allow the top few inches of soil to dry out between waterings, and use drip irrigation or soaker hoses for even moisture distribution if rain is lacking. Fertilize monthly with a balanced organic product like compost tea or fish emulsion to keep plants vigorously producing peppers. Stake or cage tall varieties as they grow to avoid wind damage. Pruning is generally not needed, but you can remove some leafy growth to increase air flow and reduce diseases if conditions are humid.
Pests are rarely a major issue for chili plants, but keep an eye out for aphids, spider mites, and hornworms. As natural organic gardeners do, encourage beneficial insects in your garden that prey on pests through diverse plantings, avoiding pesticides, and tolerating some damage rather than interfering. Handpick pests off as you notice them and drop them in soapy water. Diseases like anthracnose can be avoided through good air circulation, pruning, and choosing resistant varieties suited to your climate.
From late summer to early fall, you’ll start to see an abundance of colorful chili fruits forming in a range of shapes and sizes, depending on the variety. Resist the urge to harvest too early—peppers will continue developing color and flavor for several weeks after reaching full size. Use clip closures, rubber bands, or small paper bags to collect ripe peppers without damaging plants. Dry peppers for use in cooking throughout the winter by stringing them up in a warm, dry spot indoors out of direct sunlight. You can also freeze or can chili peppers following standard home food preservation methods.
Growing your own chili peppers is highly rewarding and adds vibrant color, flavor, and heat to meals all season. With the right site preparation and ongoing care, you’ll be enjoying an abundant harvest of homegrown peppers to use in salsas, sauces, stir-fries, and more. I wish you the best of luck and spicy eating this season! Let me know if you have any other questions. I’m always happy to share more of what I’ve learned in my years of chili cultivation.
