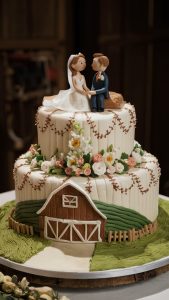
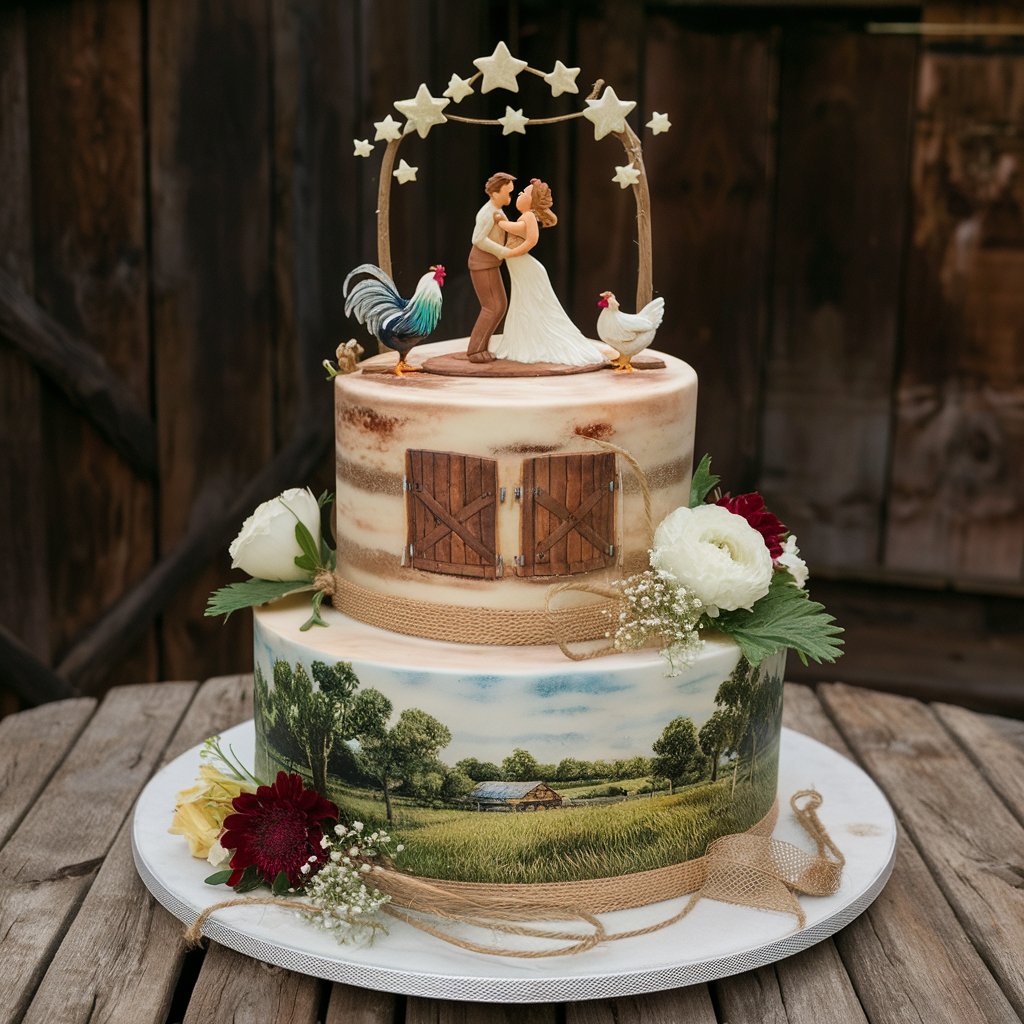
How to Make and Decorate Delicious Farm Wedding Cake
Creating a two-tiered farm wedding cake is a delightful project that combines baking skills with a touch of rustic charm. Here’s a step-by-step guide to help you make and decorate a stunning cake that will be the centerpiece of any farm wedding.
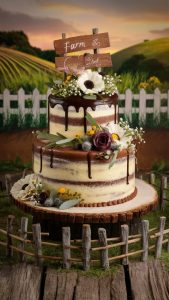
Ingredients and Tools:
For the Cake:
- 2 cups all-purpose flour (per tier)
- 1 1/2 cups sugar (per tier)
- 1/2 cup unsalted butter (softened, per tier)
- 1 cup milk (per tier)
- 3 large eggs (per tier)
- 2 tsp baking powder (per tier)
- 1 tsp vanilla extract (per tier)
- Pinch of salt
For the Buttercream Frosting:
- 1 cup unsalted butter (softened)
- 4 cups powdered sugar
- 1/4 cup heavy cream
- 2 tsp vanilla extract
- Pinch of salt
Decorative Elements:
- Fresh flowers (e.g., sunflowers, daisies, or wildflowers)
- Edible greenery (e.g., mint leaves)
- Fondant farm animals (optional)
- Burlap ribbon
- Cake topper (rustic or farm-themed)
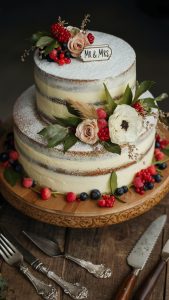
Step-by-Step Instructions:
- Bake the Cakes:
- Preheat your oven to 350°F (175°C). Grease and flour two sets of cake pans (8-inch and 6-inch).
- In a mixing bowl, cream together the butter and sugar until light and fluffy.
- Add the eggs one at a time, beating well after each addition. Stir in the vanilla extract.
- In another bowl, whisk together the flour, baking powder, and salt.
- Gradually add the dry ingredients to the butter mixture, alternating with milk. Begin and end with the dry ingredients.
- Pour the batter into the prepared pans and bake for 25-30 minutes, or until a toothpick inserted into the center comes out clean.
- Let the cakes cool in the pans for 10 minutes, then turn them out onto wire racks to cool completely.
- Prepare the Buttercream Frosting:
- In a large bowl, beat the butter until creamy.
- Gradually add the powdered sugar, one cup at a time, beating well after each addition.
- Add the heavy cream, vanilla extract, and salt, and beat until the frosting is smooth and fluffy.
- Assemble the Cake:
- Level the tops of the cooled cakes using a serrated knife or cake leveler.
- Place the 8-inch cake on a cake board or serving platter. Spread a layer of buttercream frosting on top.
- Stack the second 8-inch cake on top, ensuring it is centered. Apply a thin layer of frosting (crumb coat) over the entire cake to seal in crumbs. Refrigerate for 30 minutes.
- Repeat the process with the 6-inch cakes, using a cake board that fits the tier.
- Decorate the Cake:
- Once the cakes are chilled, apply a thicker layer of frosting, smoothing it out with a spatula.
- Carefully stack the 6-inch tier on top of the 8-inch tier, using dowels for support if necessary.
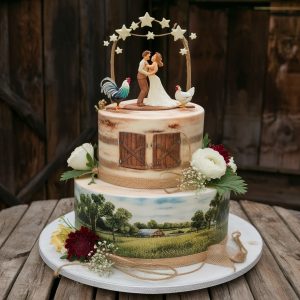
- Wrap a burlap ribbon around the base of each tier for a rustic touch.
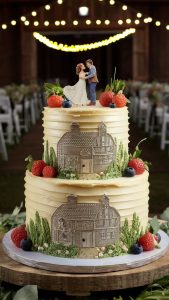
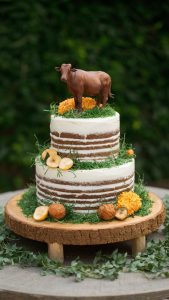
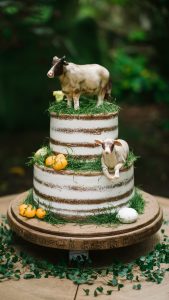
- Decorate the cake with fresh flowers and edible greenery, arranging them to look natural and farm-inspired.
- Add fondant farm animals if desired, placing them strategically around the tiers.
- Finish with a rustic or farm-themed cake topper.
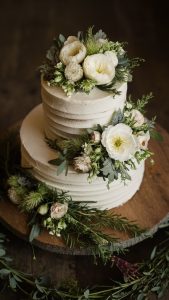
Tips for Success:
- Fresh Flowers: Ensure the flowers are pesticide-free and safe for cake decoration. You can wrap the stems in floral tape to prevent direct contact with the cake.
- Smooth Frosting: Use a bench scraper or a cake smoother to achieve a polished look.
- Stability: Use dowels or straws to support the tiers, especially if transporting the cake.
With these steps, you’ll create a beautiful, rustic two-tiered wedding cake that perfectly complements a farm wedding. Happy baking!
